

I am a massive user of smart home products and I link most of my home up in some shape or form with smart home accessories. I am also a user of Apple’s HomeKit to control my smart home accessories, but the challenge I face is that some devices do not support HomeKit. However, searching the internet I found a solution in HomeBridge and I will show you to install it on a QNAP NAS.
Whilst you can install HomeBridge on a Mac, PC or a Raspberry PI device, I run a QNAP NAS at home to manage my home entertainment and CCTV cameras and wanted to install HomeBridge on my QNAP. So after some searching the internet, I figured how to install HomeBridge on a QNAP NAS and I wanted to share this knowledge with those of you that want to do the same.
What is HomeBridge
Homebridge is a lightweight NodeJS server you can run on your home network that emulates the iOS HomeKit API. It supports Plugins, which are community-contributed modules that provide a basic bridge from HomeKit to various 3rd-party APIs provided by manufacturers of “smart home” devices. So if you wanted to use non HomeKit devices like me then HomeBridge could a solution for you.
What do you need to run HomeBridge on a QNAP NAS
- A compatible QNAP NAS (intel chip only)
- Container station installed
- Connected to a network with internet access
- iPhone, iPad or iPod running iOS 10 or later
Quick disclaimer – I am not held responsible for anything that goes wrong. I have got this working and use it with Hive Home, Neato and other products in my home with no issues.
How to install HomeBridge on a QNAP NAS – Step by step instructions
Install container station
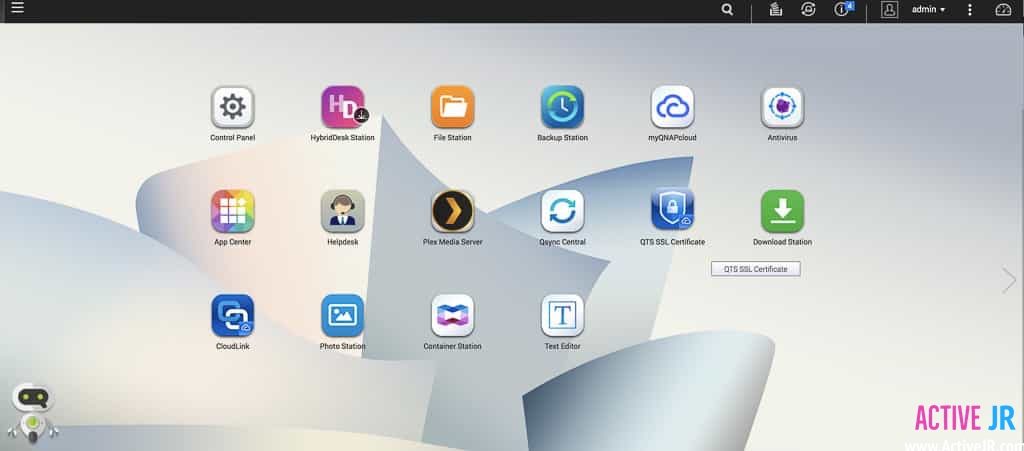
Open container station

Create
Find HomeBridge container
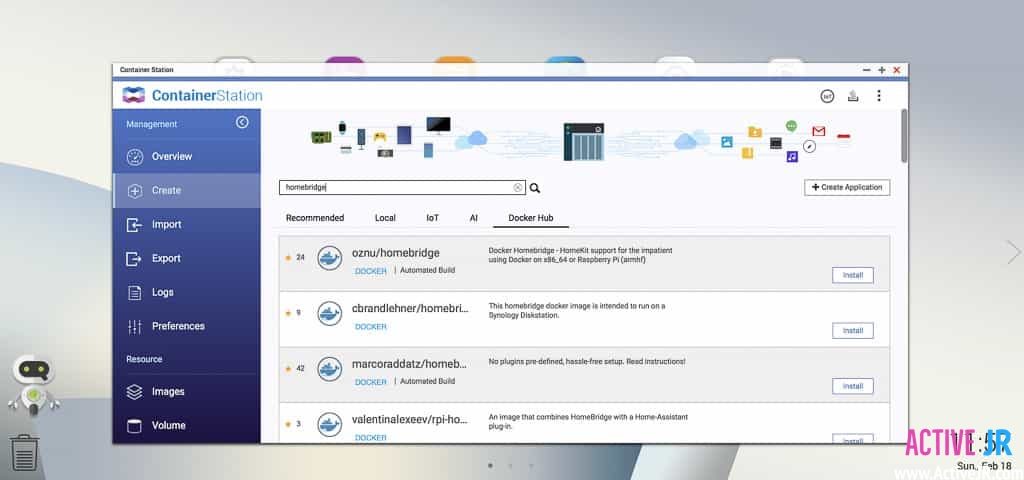
Install into container station
Name and resources

Advance settings setup

Create a container folder in “file station”
Go back to contain station
/root/.homebridge. 
Now create HomeBridge
Download require files
install.sh
config.json
Stop HomeBridge
Upload to File station

Restart the HomeBridge instance
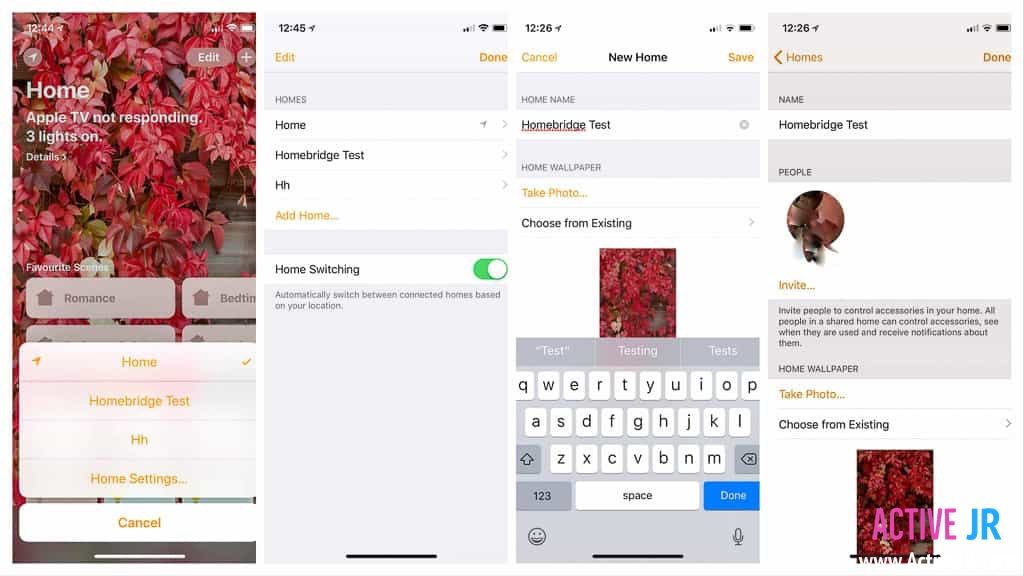
Create a “Home” in HomeKit
Name whatever you like and then save.
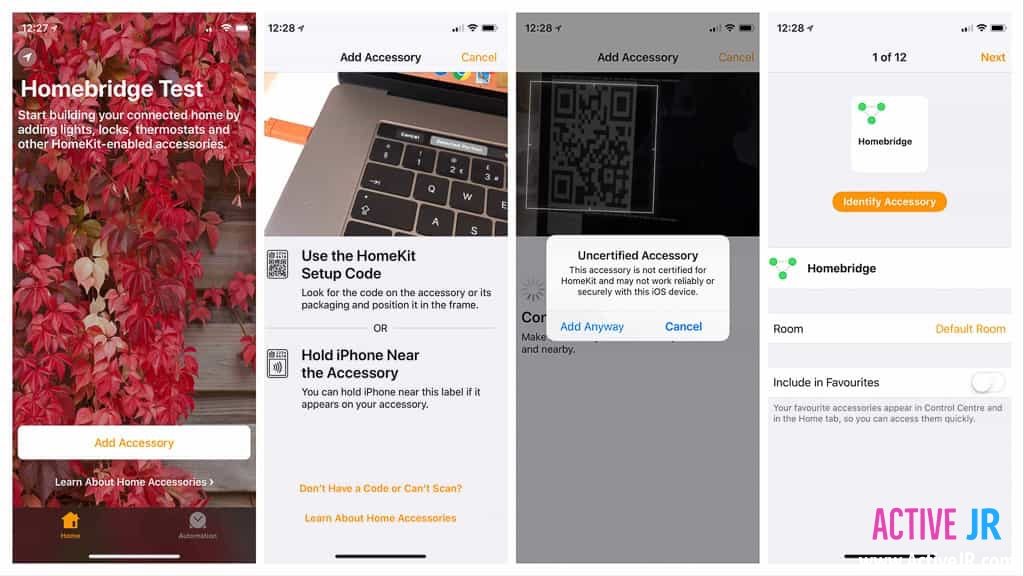
Add HomeBridge to HomeKit
That’s it, you have now setup HomeBridge on a QNAP NAS using a container station. You can now add smart home accessories onto HomeBridge. Don’t forget to subscribe to be first to for HomeKit how to guides. If you have a question or a comment, then leave it below. You can also follow us on Twitter, Facebook, YouTube and Instagram.
Credits to Marco for some images, originally posted on activejr.com


Thank you. I went thru all the steps and it seems to work. Now how can I add cameras and other accessories to HomeBridge?
Hi Pascal, I need your info too. Im using a raspberry with FFMPEG but id like to do all with my Qnap.
Thank you. it worked perfectly for me over local network, but not remotely over internet. any idea how to do that.
You may need to open ports on your router
Hi, thank’s for tutorial, but my iPhone (home) app, can’t add homebridge, do you nave any idea? The error is “can’t fine hub”